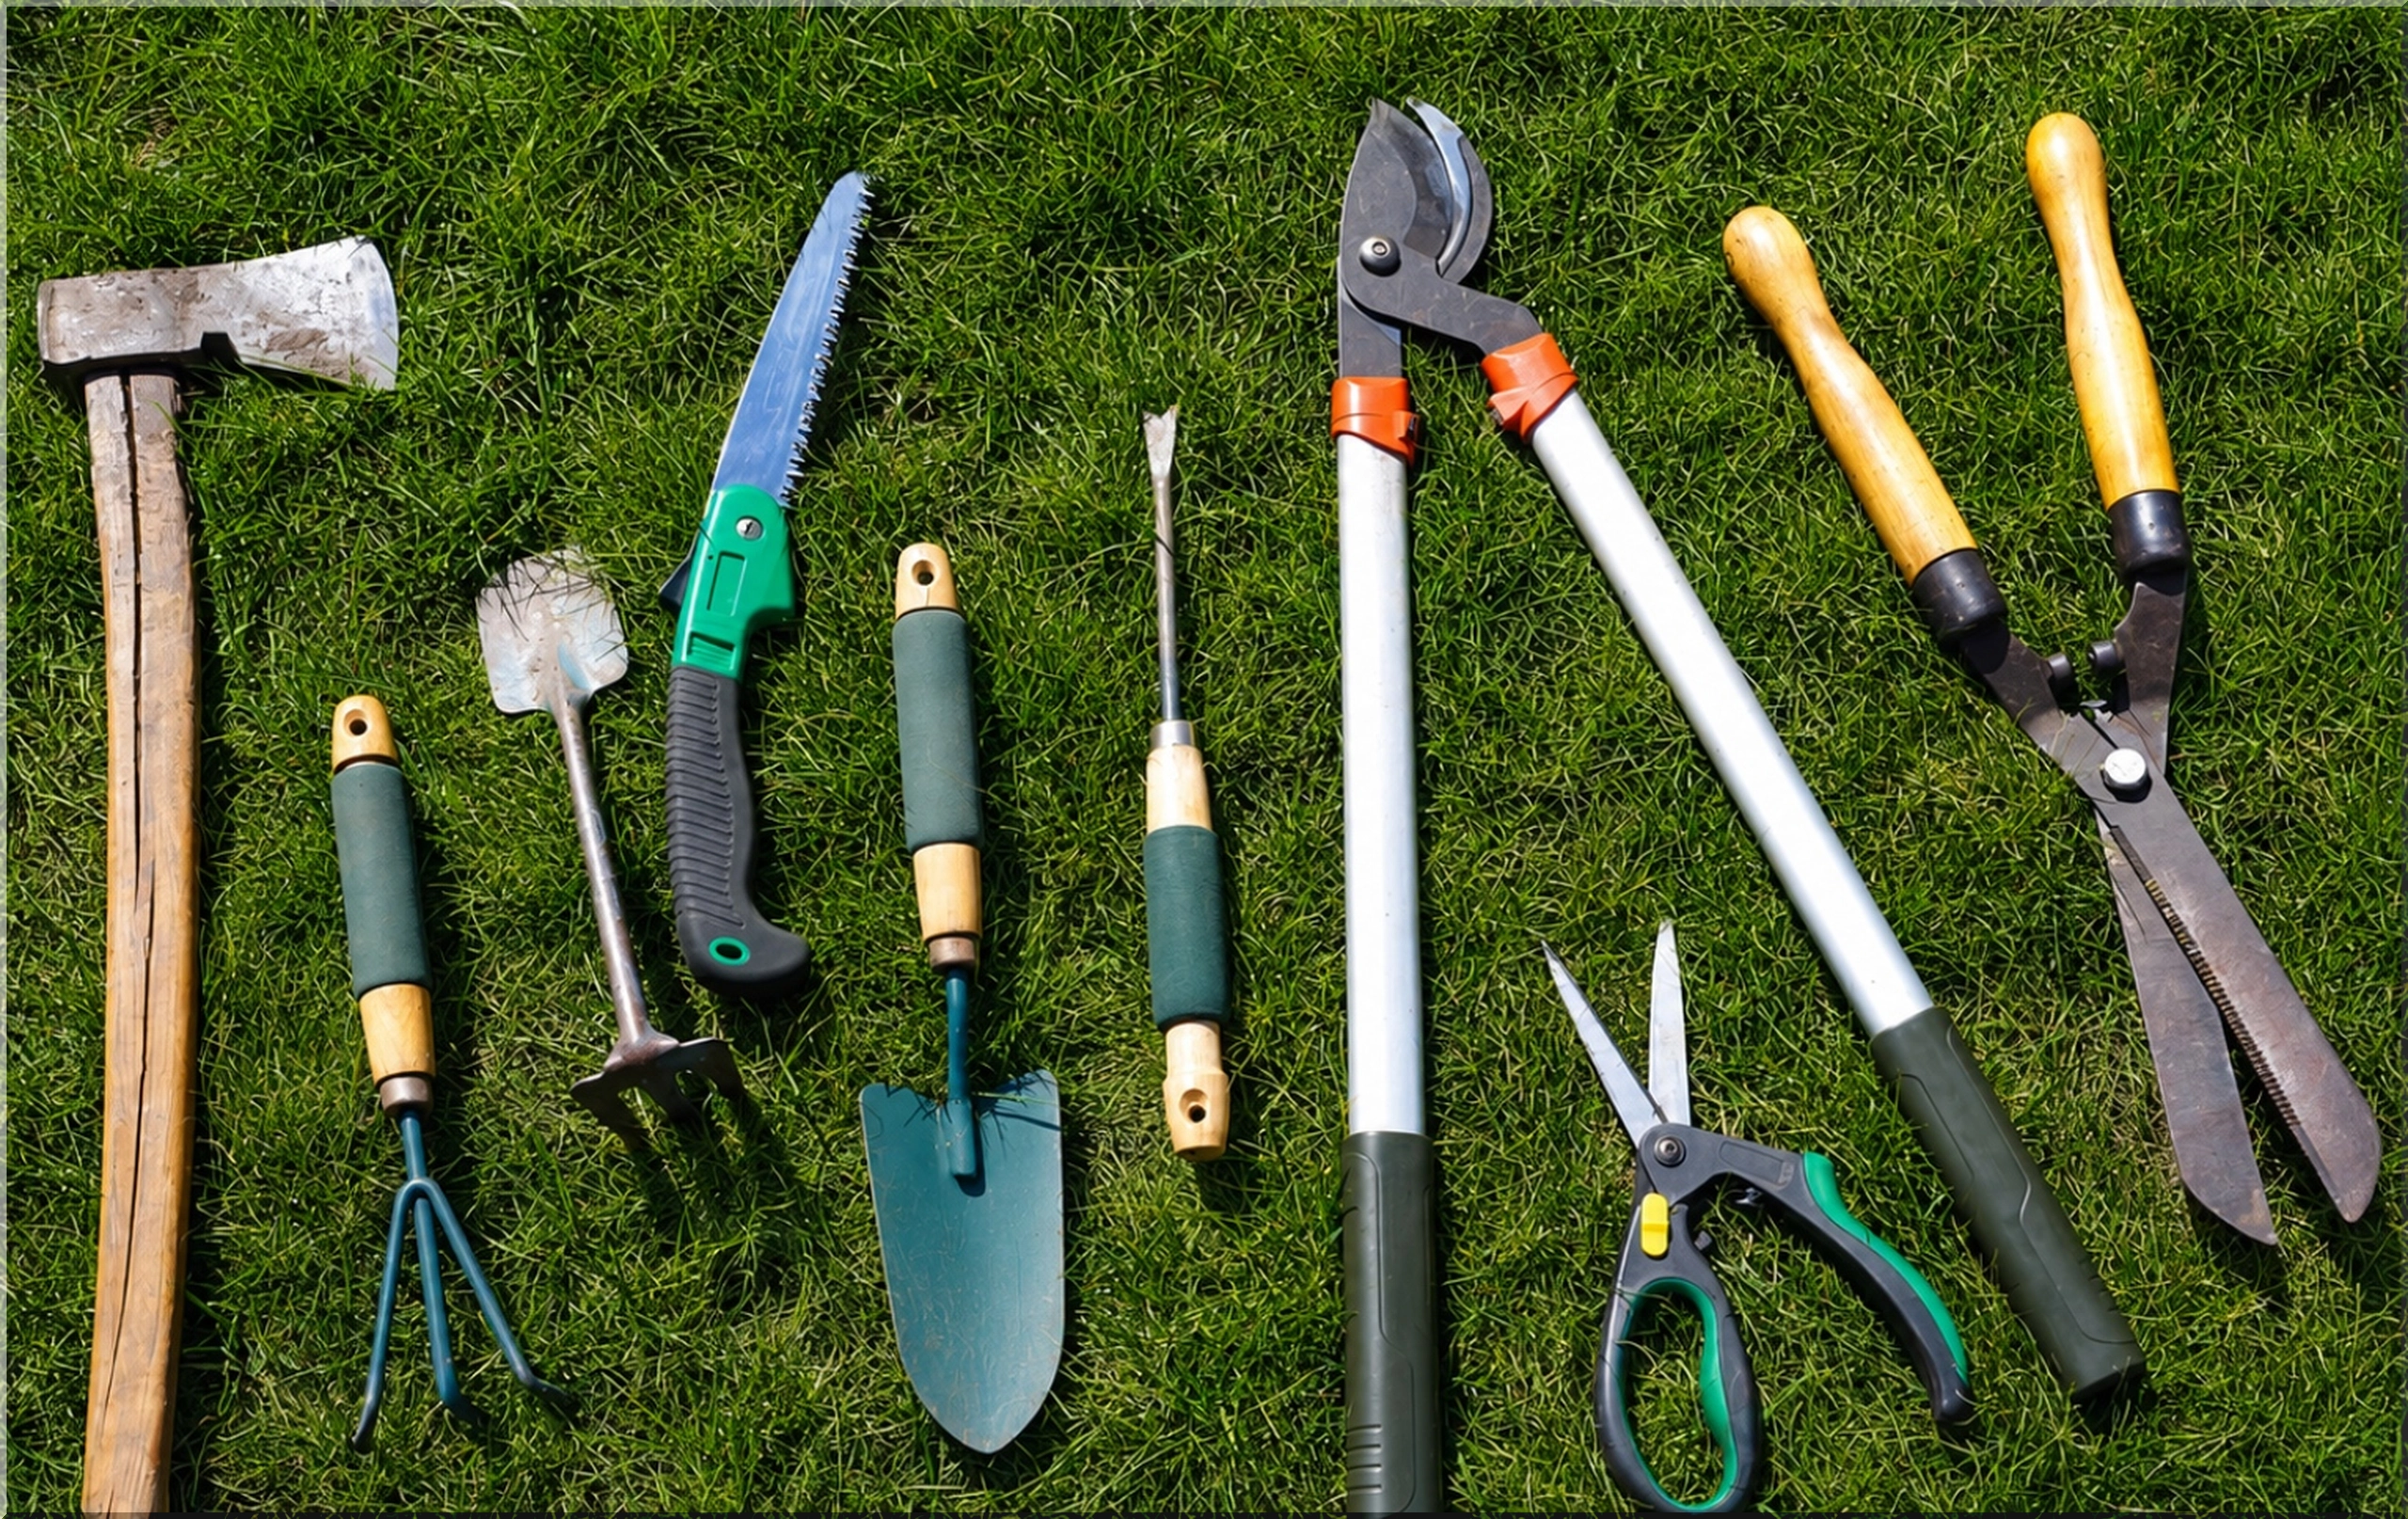
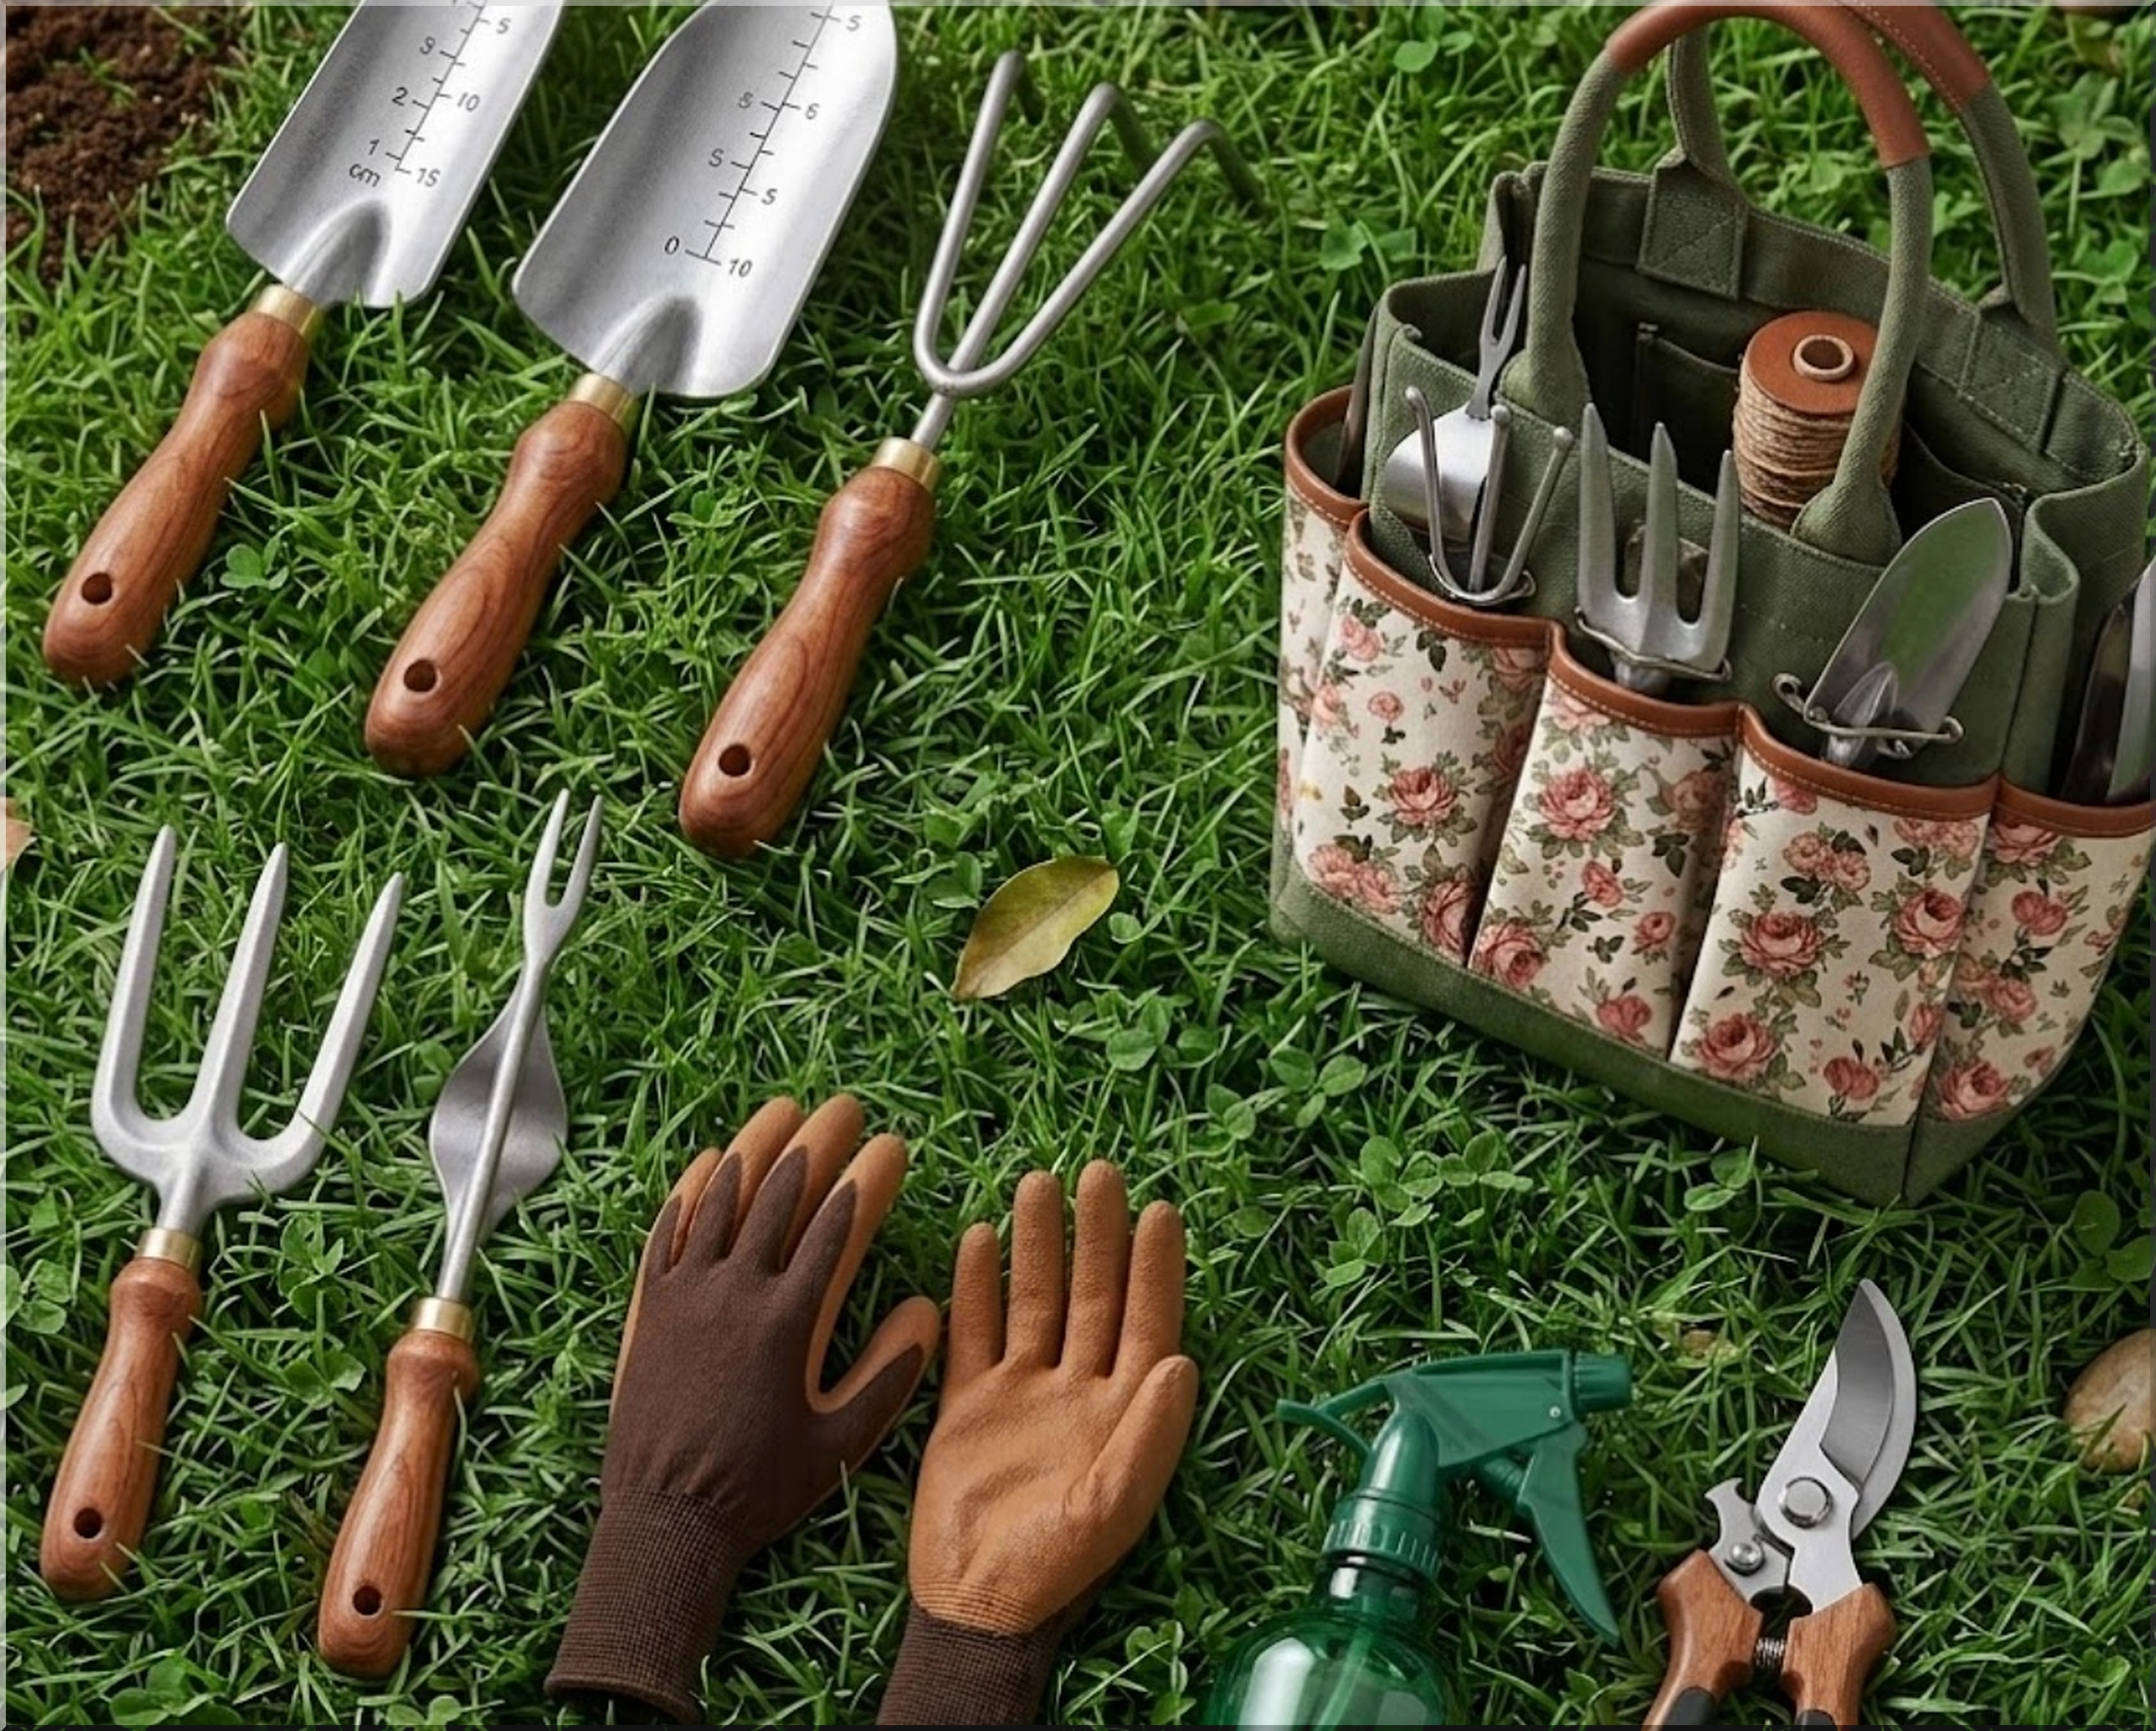
Good gardening starts before the first seed hits the soil. It starts with clean, sharp, well-kept tools that cut cleanly, dig smoothly, and do not turn a Saturday planting session into a wrestling match with rust.
Why Garden Tool Maintenance Saves Time, Money, and Plants
A neglected tool rarely fails all at once. It usually sends little warnings first. A pruner sticks. A shovel drags through soil. A hoe develops rust along the edge. A wooden handle starts to crack near the head.
Ignore those signs and gardening gets harder. Cuts become ragged. Digging takes more force. Hinges seize. Blades dull. Then the tool that once felt reliable becomes an expensive decoration in the shed.
Regular garden tool maintenance prevents most of that. It also helps plants. Sharp pruning shears make clean cuts that heal faster. Clean blades reduce the spread of plant disease. Smooth handles protect your hands. Rust-free metal parts last longer.
This does not require a professional workshop. You need a simple routine, a few basic supplies, and the discipline to spend five minutes after each use. Five minutes beats replacing a full set of tools every spring.
Build a Simple Garden Tool Care Kit
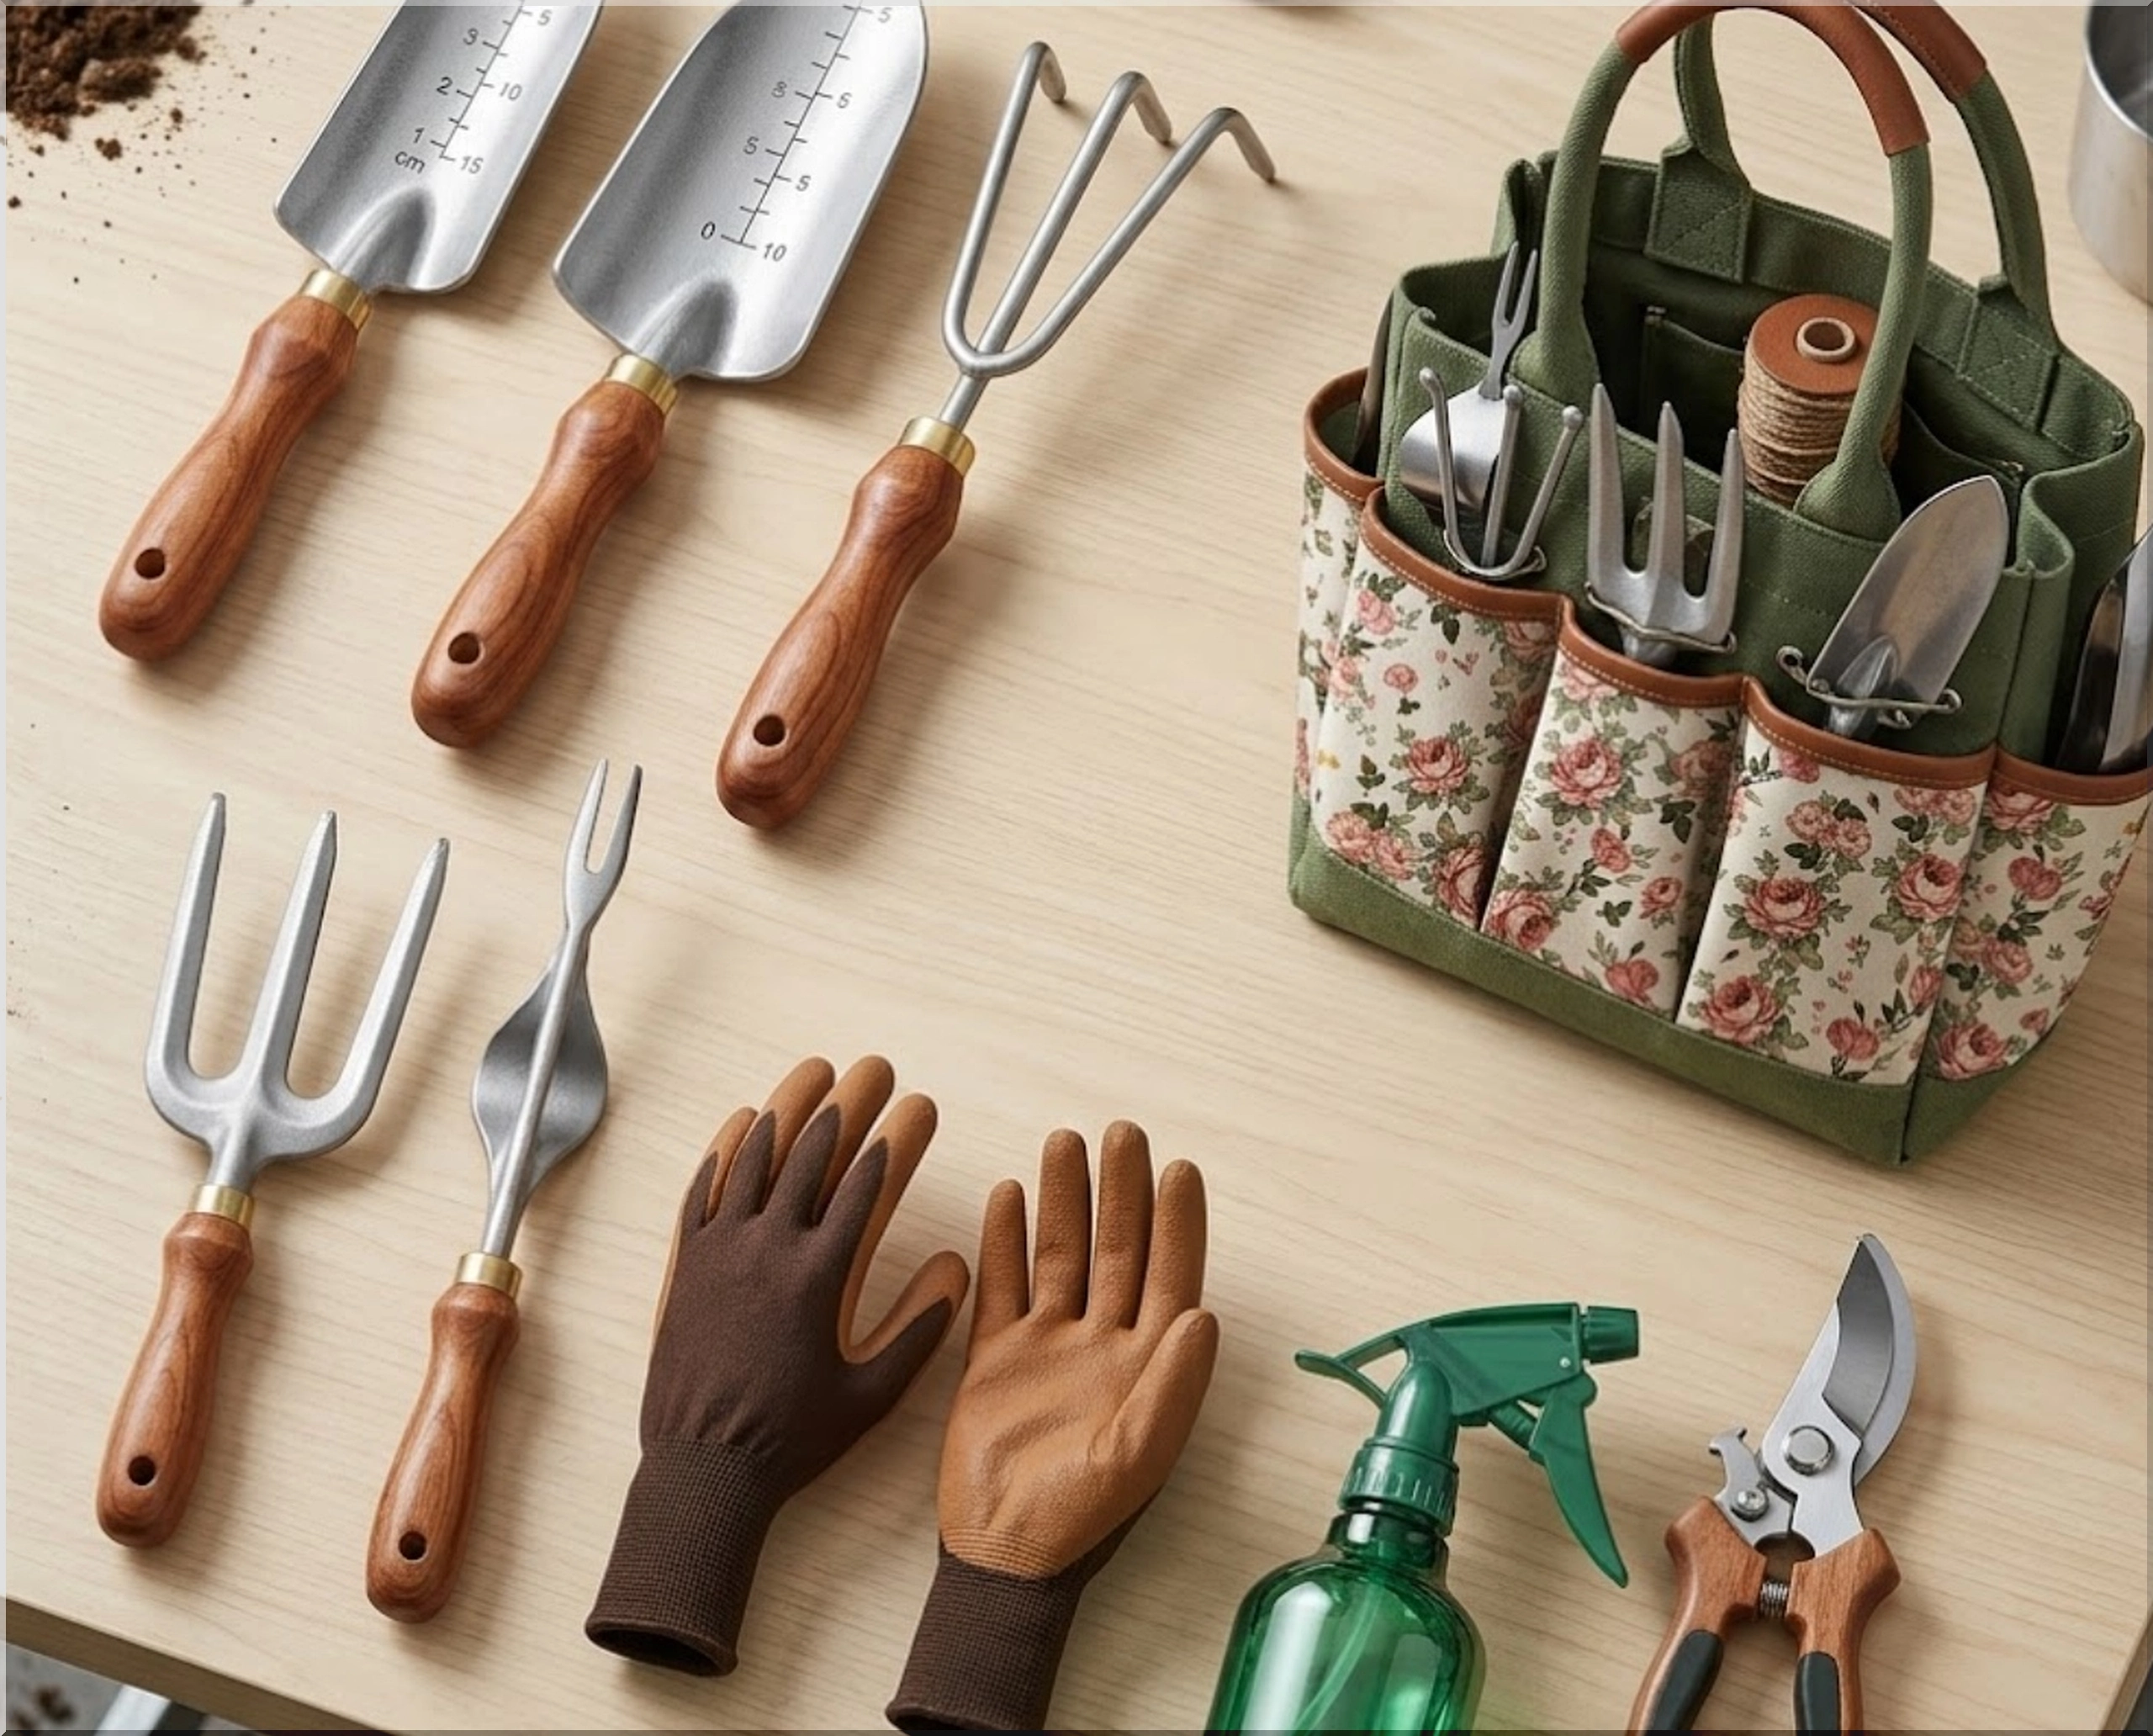
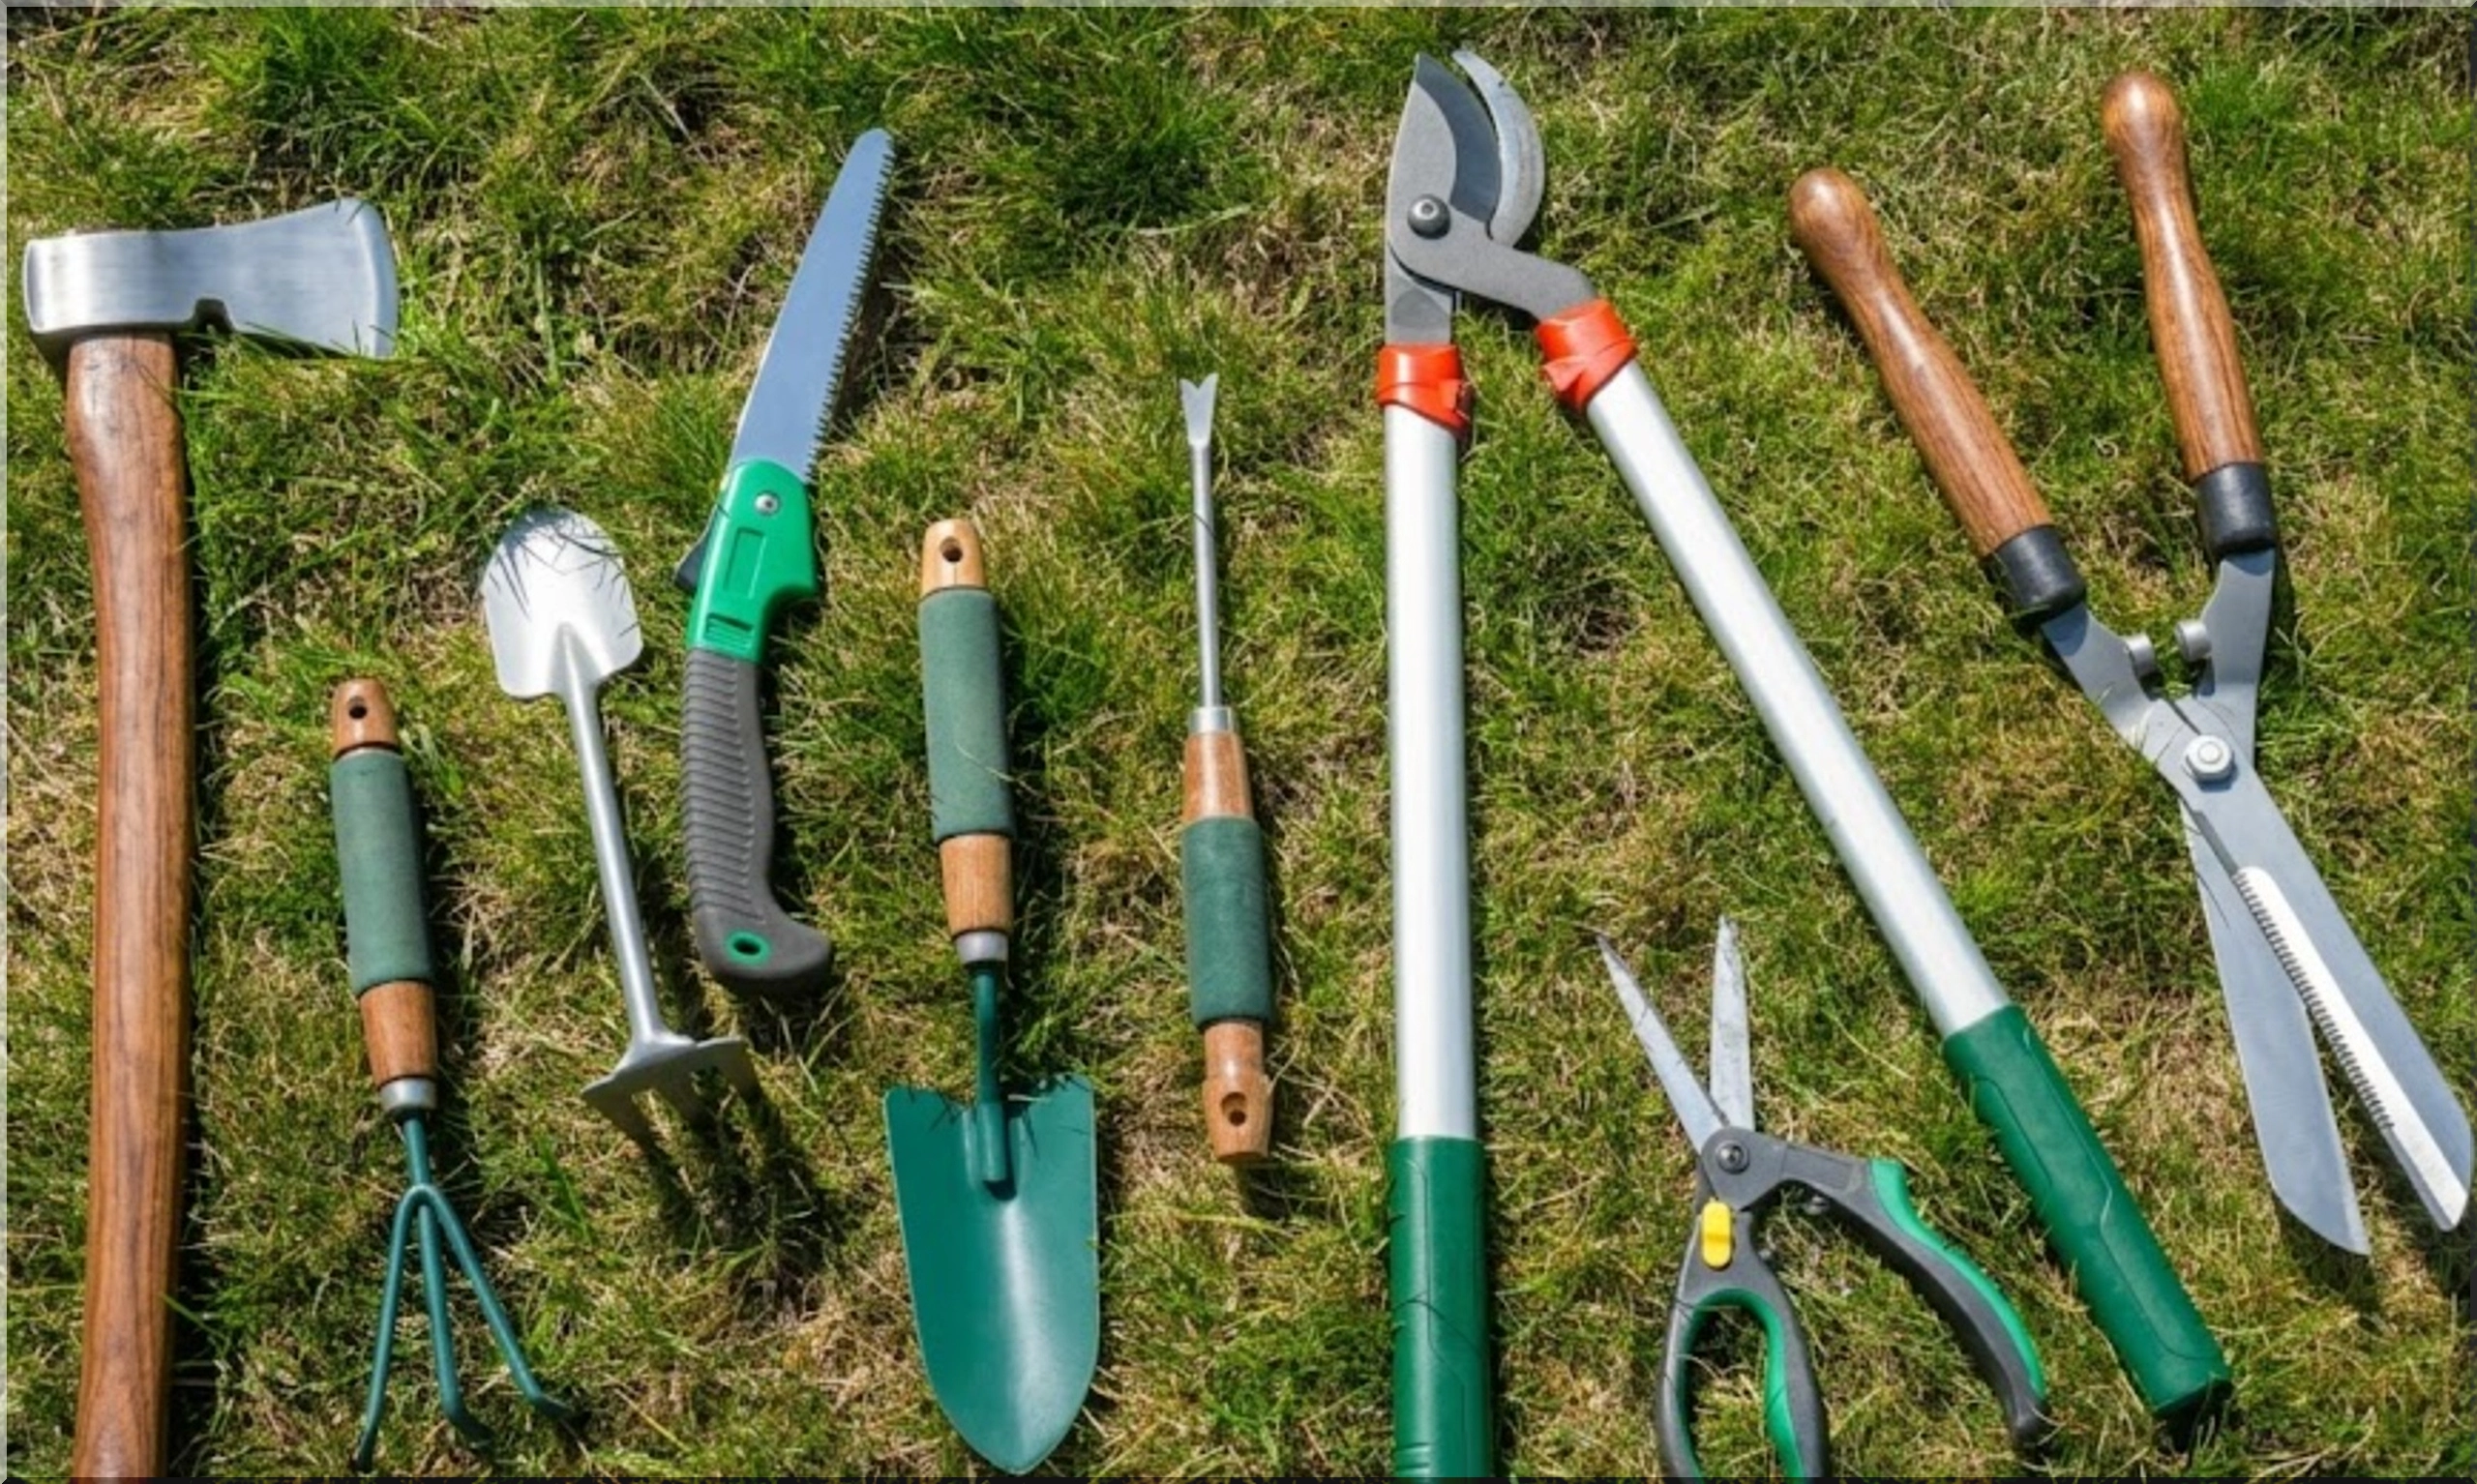
You can care for most garden tools with household basics and a few low-cost extras. Keep everything together in a small box, bucket, or shelf near your storage area. The easier the kit sits within reach, the more likely you will use it.
A practical tool care kit should include:
- Stiff brush
- Soft cloths or old towels
- Bucket
- Mild dish soap
- Fine sandpaper or steel wool
- Flat file or sharpening stone
- Rubbing alcohol or garden-safe disinfectant
- Light machine oil, mineral oil, or linseed oil
- Gloves
- Eye protection
- Blade covers or sheaths
Pro-Tip: Store the kit beside your most-used tools. If you need to cross the garage, move three bicycles, and question your life choices to find the oil, the pruners will stay dirty.
Clean Garden Tools After Every Use
Mud looks harmless. It acts less innocent once it dries on metal. Soil holds moisture, and moisture encourages rust. It also hides tiny stones that scratch blades and dull cutting edges.
Start with a simple cleaning habit. Knock off loose dirt. Rinse the metal parts. Scrub stuck soil with a stiff brush. Dry everything fully before storage.
That last step matters. A wet spade placed in a dark shed creates perfect rust conditions. Dry metal lasts longer. Dry handles also resist swelling, cracking, and rot.
Fast Cleaning Routine for Busy Gardeners
Use this quick routine after normal garden work:
- Tap off loose soil.
- Rinse the tool with clean water.
- Scrub away dried dirt.
- Wash sticky areas with mild soapy water.
- Dry the tool with a cloth.
- Wipe metal parts with a light coat of oil.
- Hang or store the tool in a dry place.
That small routine protects shovels, forks, trowels, hoes, and hand cultivators. It also keeps your storage space cleaner, which counts as a win for anyone who has stepped on a muddy rake in socks.
Remove Sap From Pruners, Shears, and Loppers
Cutting tools deal with more than stems. They collect sap, resin, plant juices, and tiny bits of bark. That sticky film reduces cutting power and forces your hand to work harder.
Clean blades with warm water and mild soap after pruning. For stubborn sap, wipe the blade with rubbing alcohol or a suitable cleaner, then wash and dry it. Apply a small amount of oil after cleaning.
Focus on these tools:
- Pruning shears
- Garden scissors
- Loppers
- Hedge shears
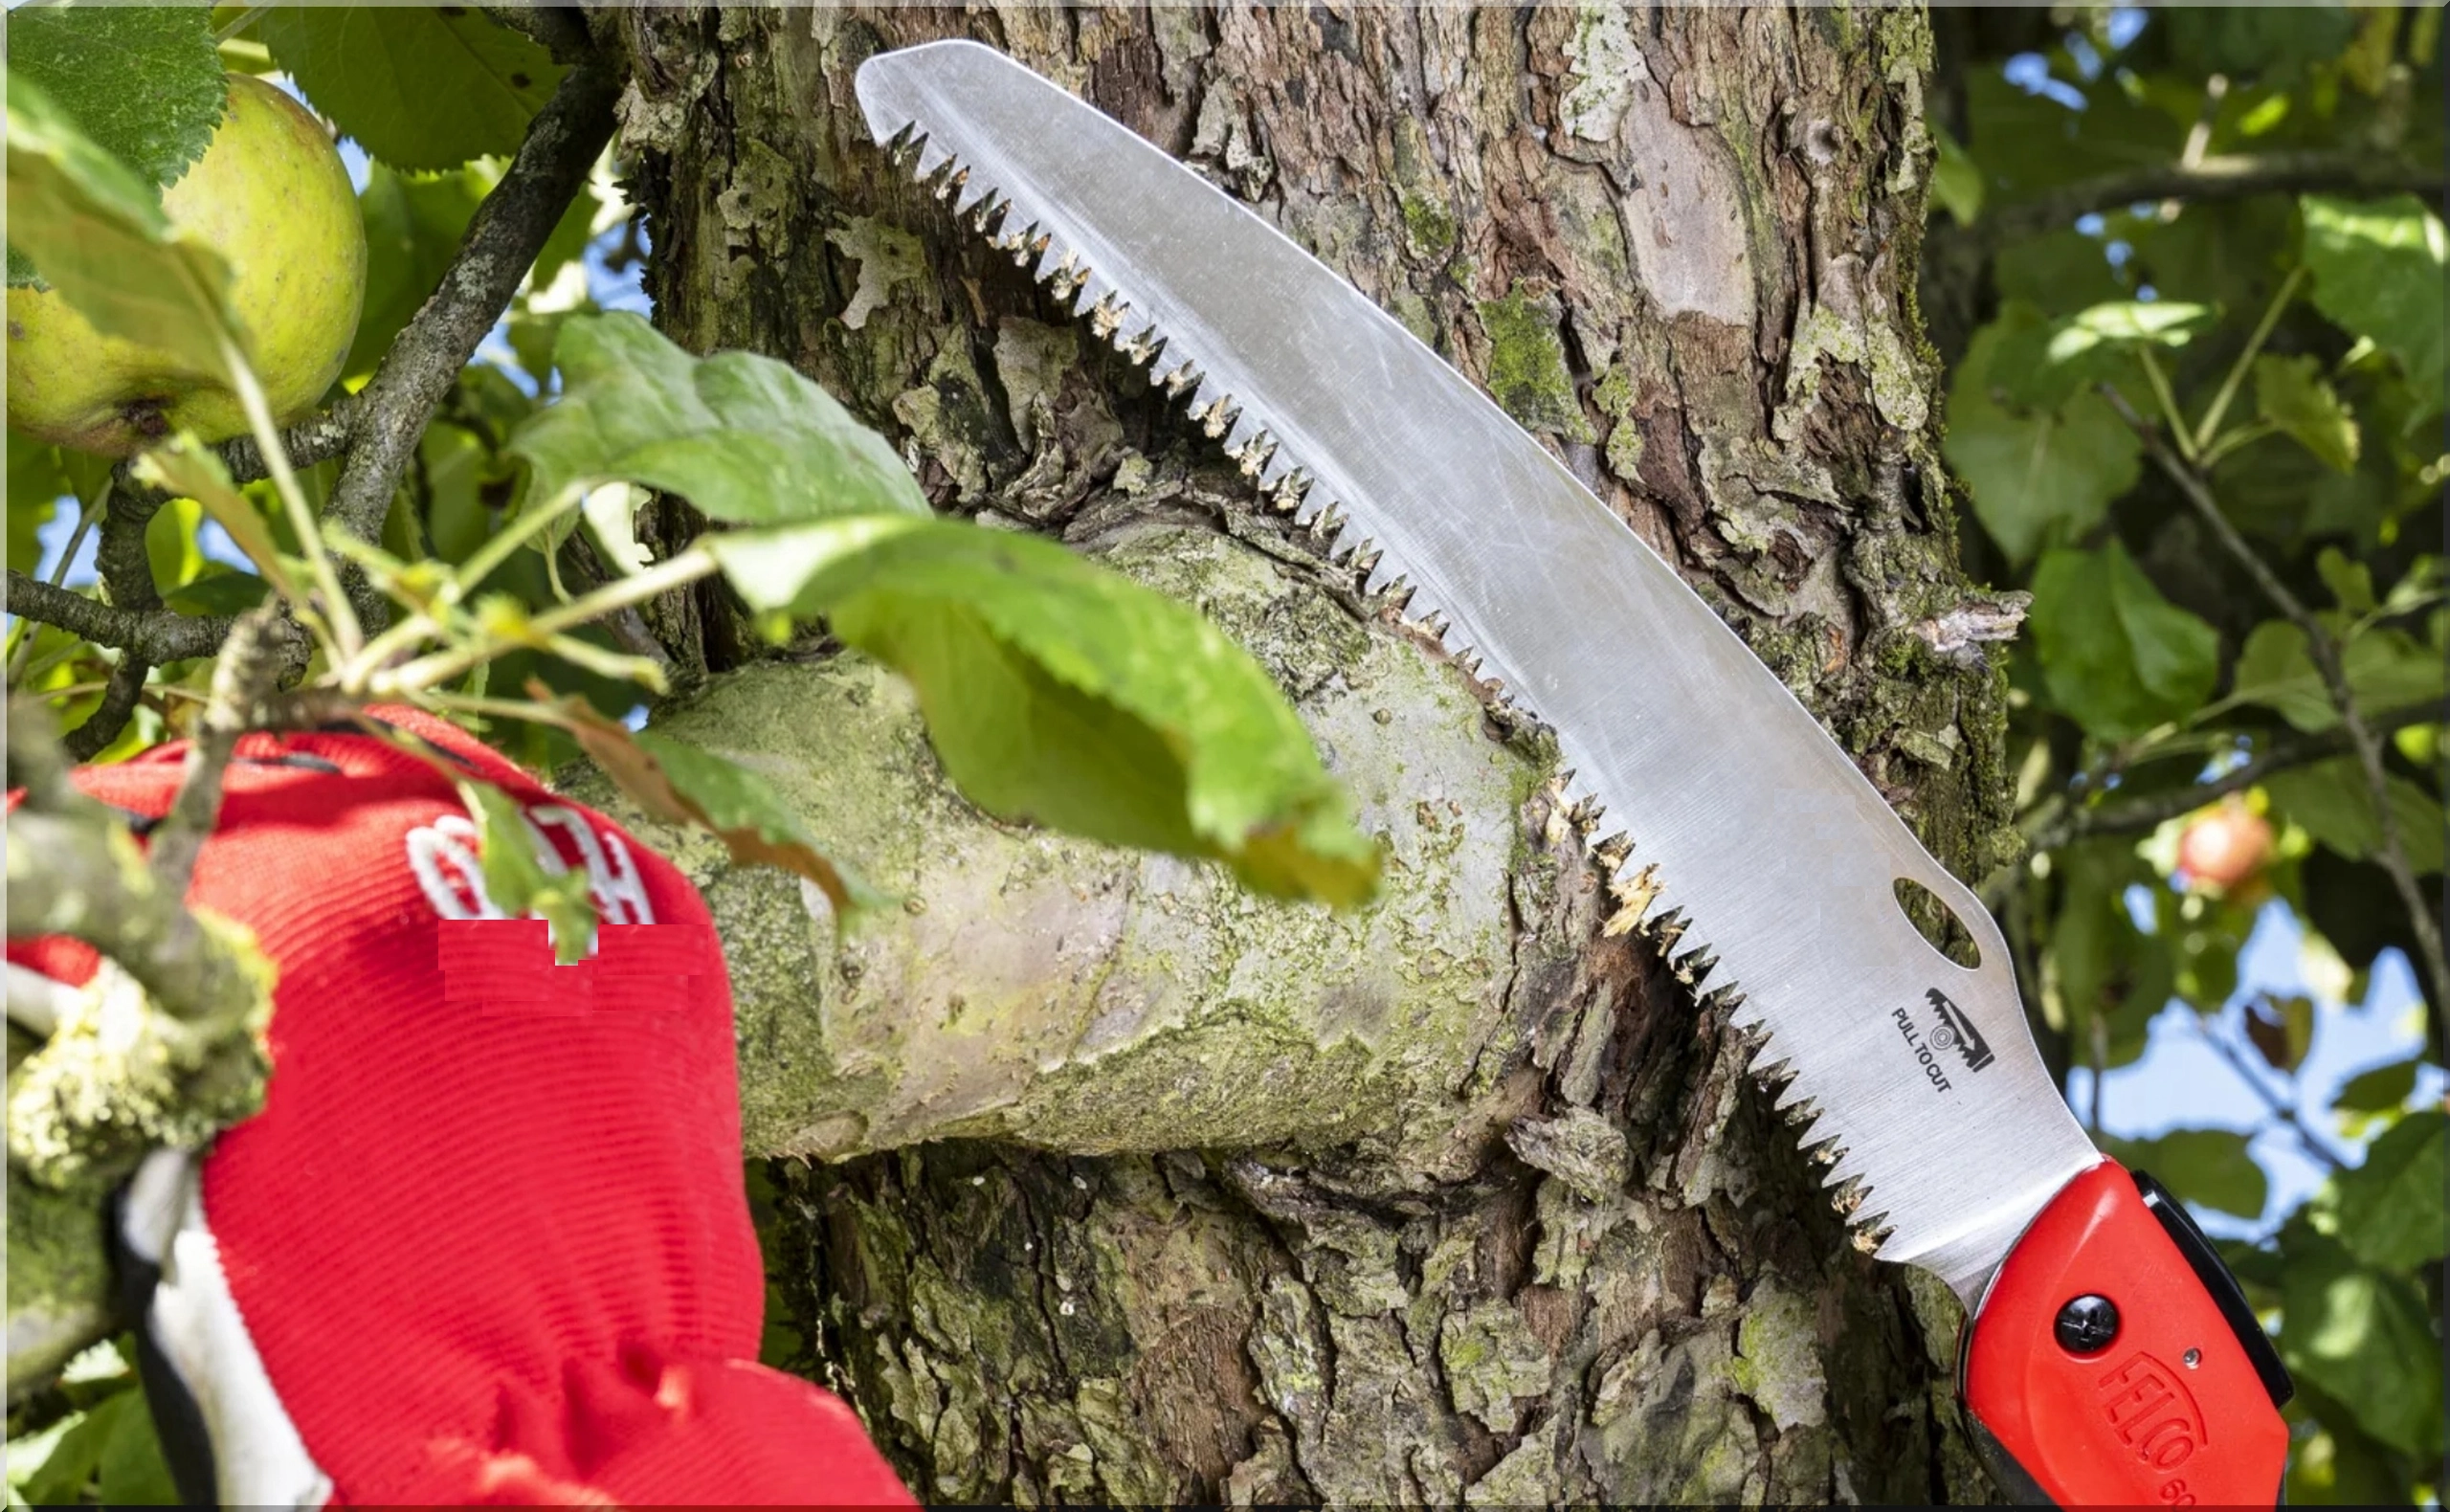
- Pruning saws
- Garden knives
Sticky blades make bad cuts. Clean blades glide through stems with less pressure. Your plants notice the difference, even if they politely refuse to say so.
Disinfect Cutting Tools to Protect Plant Health
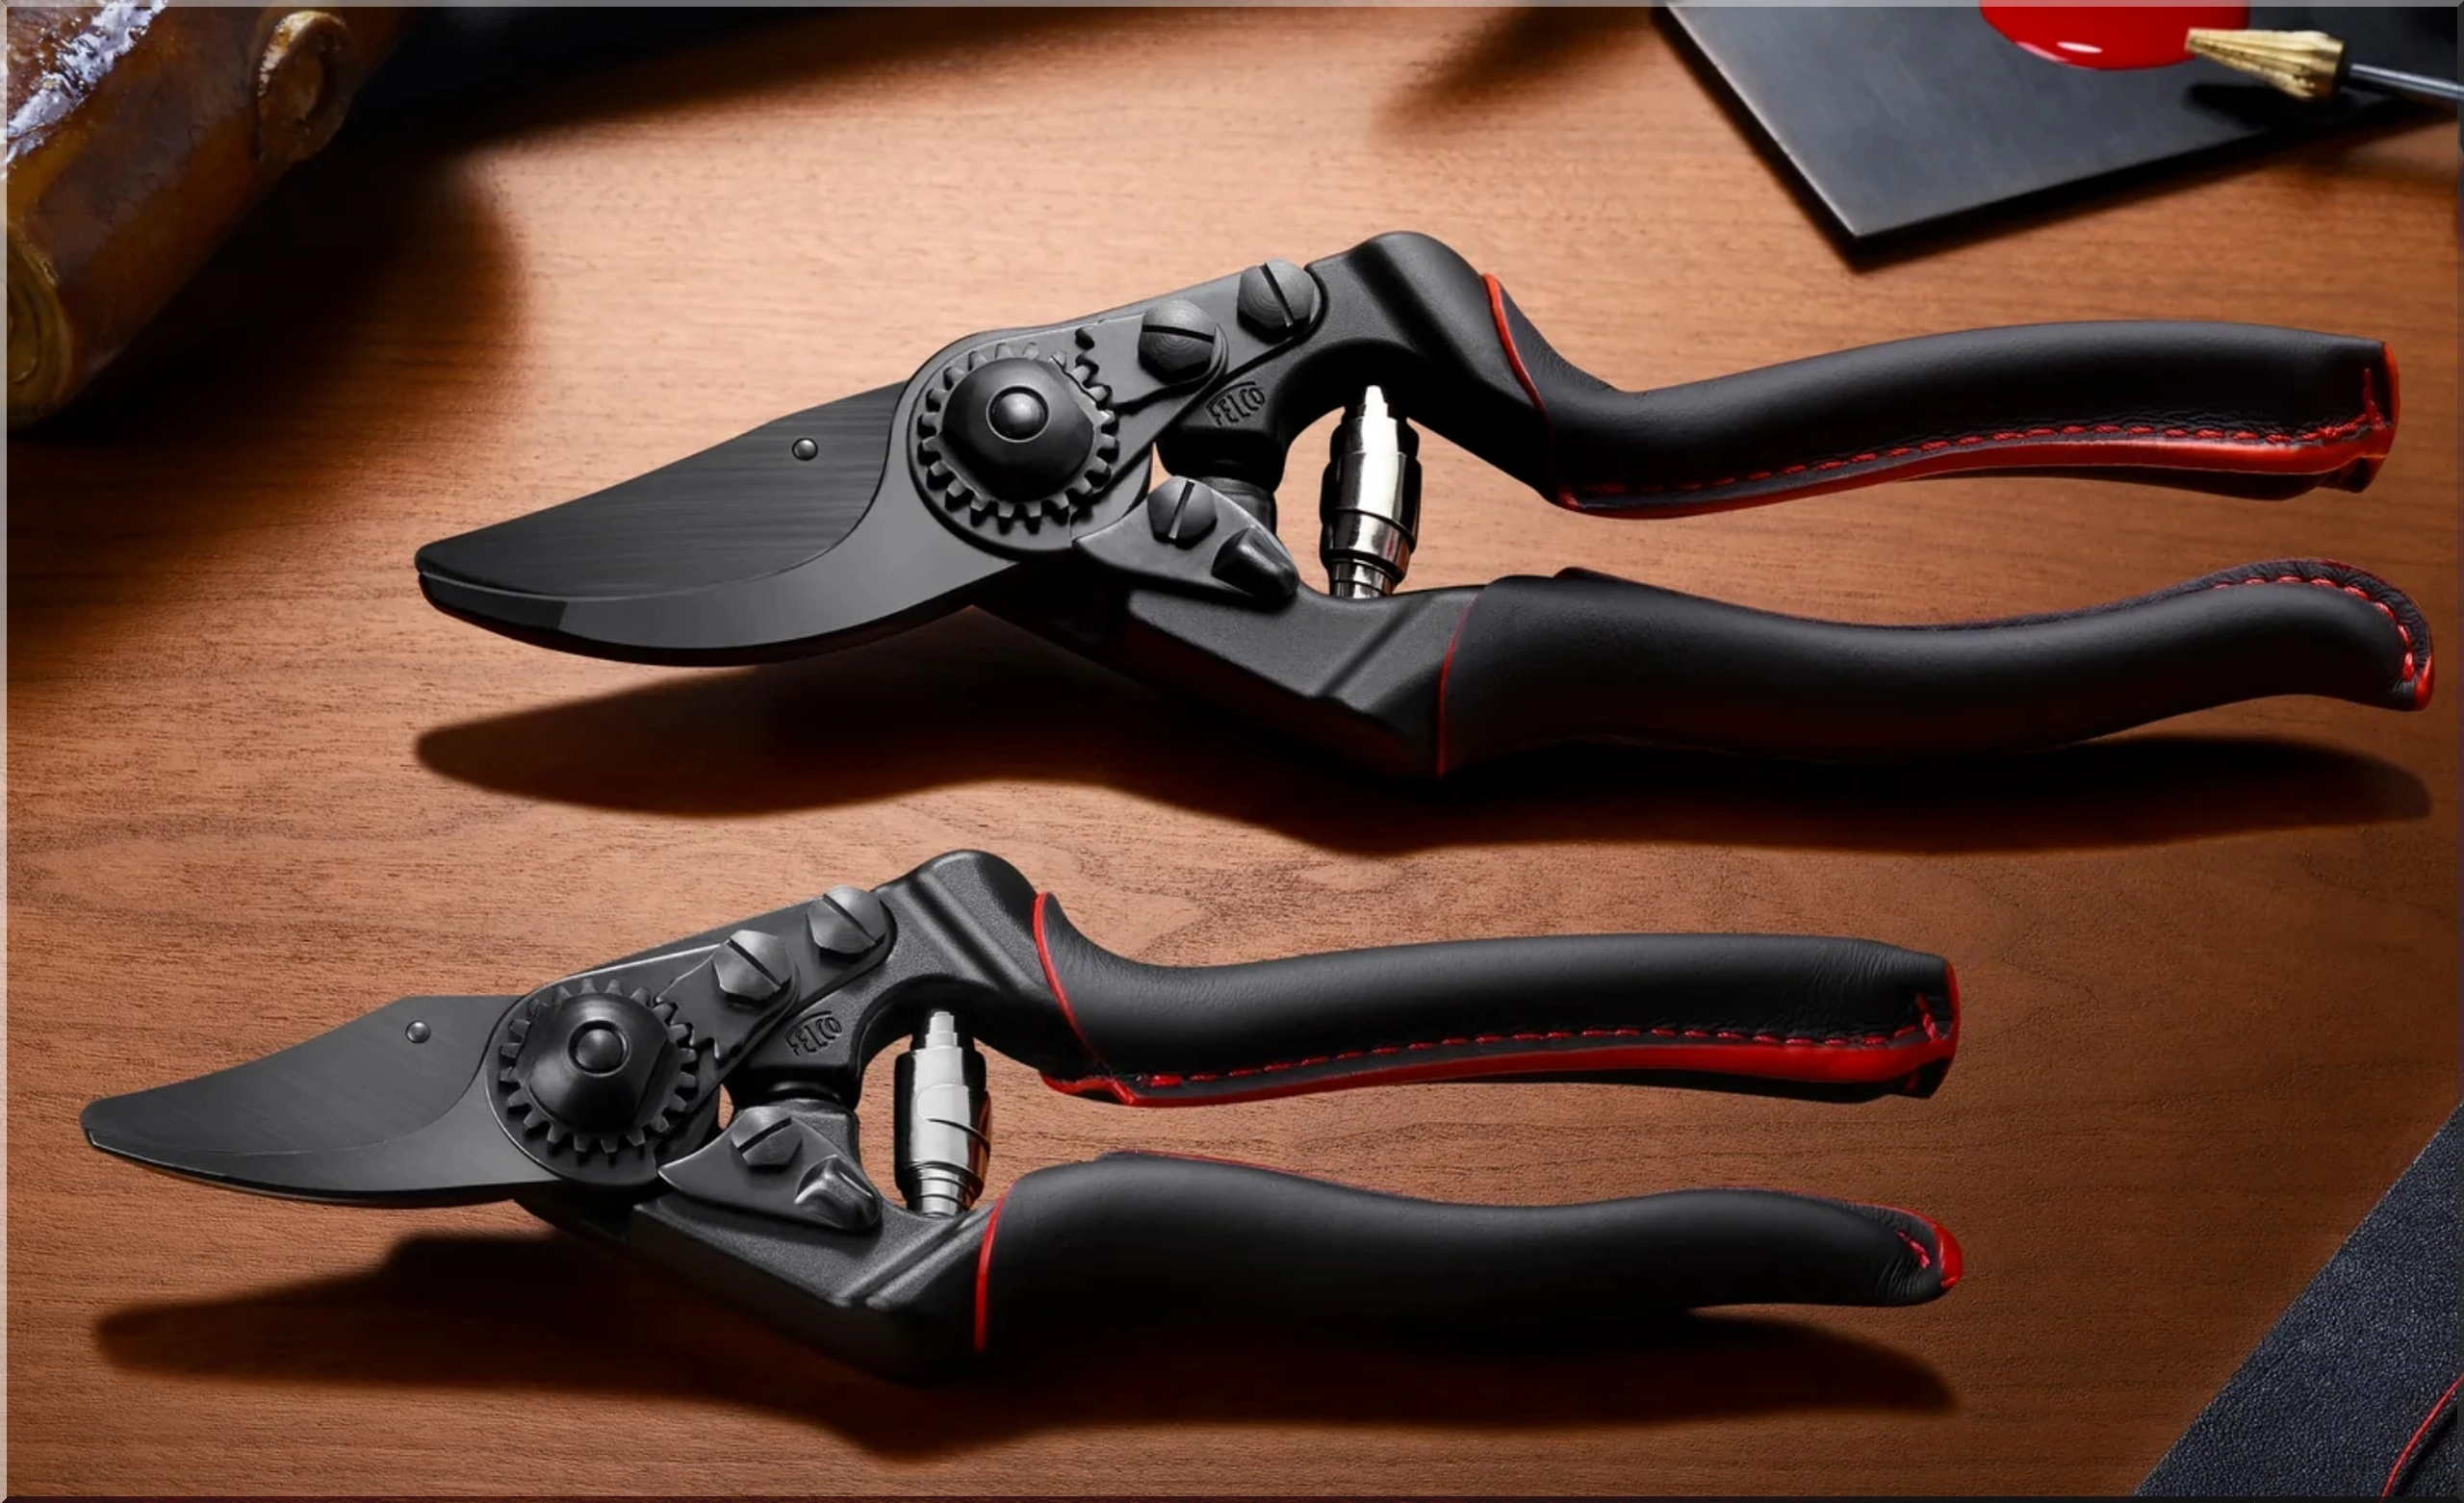
Garden tools can carry disease from one plant to another. Pruning diseased branches, fungal growth, or pest-damaged stems can leave residue on blades. If you cut a healthy plant next, the problem may spread.
Disinfect cutting tools after working on sick plants. Use rubbing alcohol or a garden-safe disinfectant. Wipe the blades, let the disinfectant work, then dry the tool and oil the metal.
When to Disinfect Garden Tools
Disinfect blades after cutting:
- Diseased branches
- Black-spotted rose stems
- Mildew-covered foliage
- Fruit tree cankers
- Tomato vines with signs of blight
- Any plant with rot, spotting, or unusual decay
You do not need to sterilize every tool after trimming one healthy lavender stem. Use common sense. When plant health looks questionable, clean and disinfect before moving to the next plant.
Sharpen Garden Tools for Cleaner, Easier Work
Dull tools waste energy. They also damage plants. A sharp blade slices. A dull blade crushes, tears, and bruises.
Sharp pruning shears create cleaner cuts on stems and branches. A sharp hoe slices weeds at the soil line with less effort. A spade with a clean edge enters compacted soil more easily. Good sharpening turns hard work into manageable work.
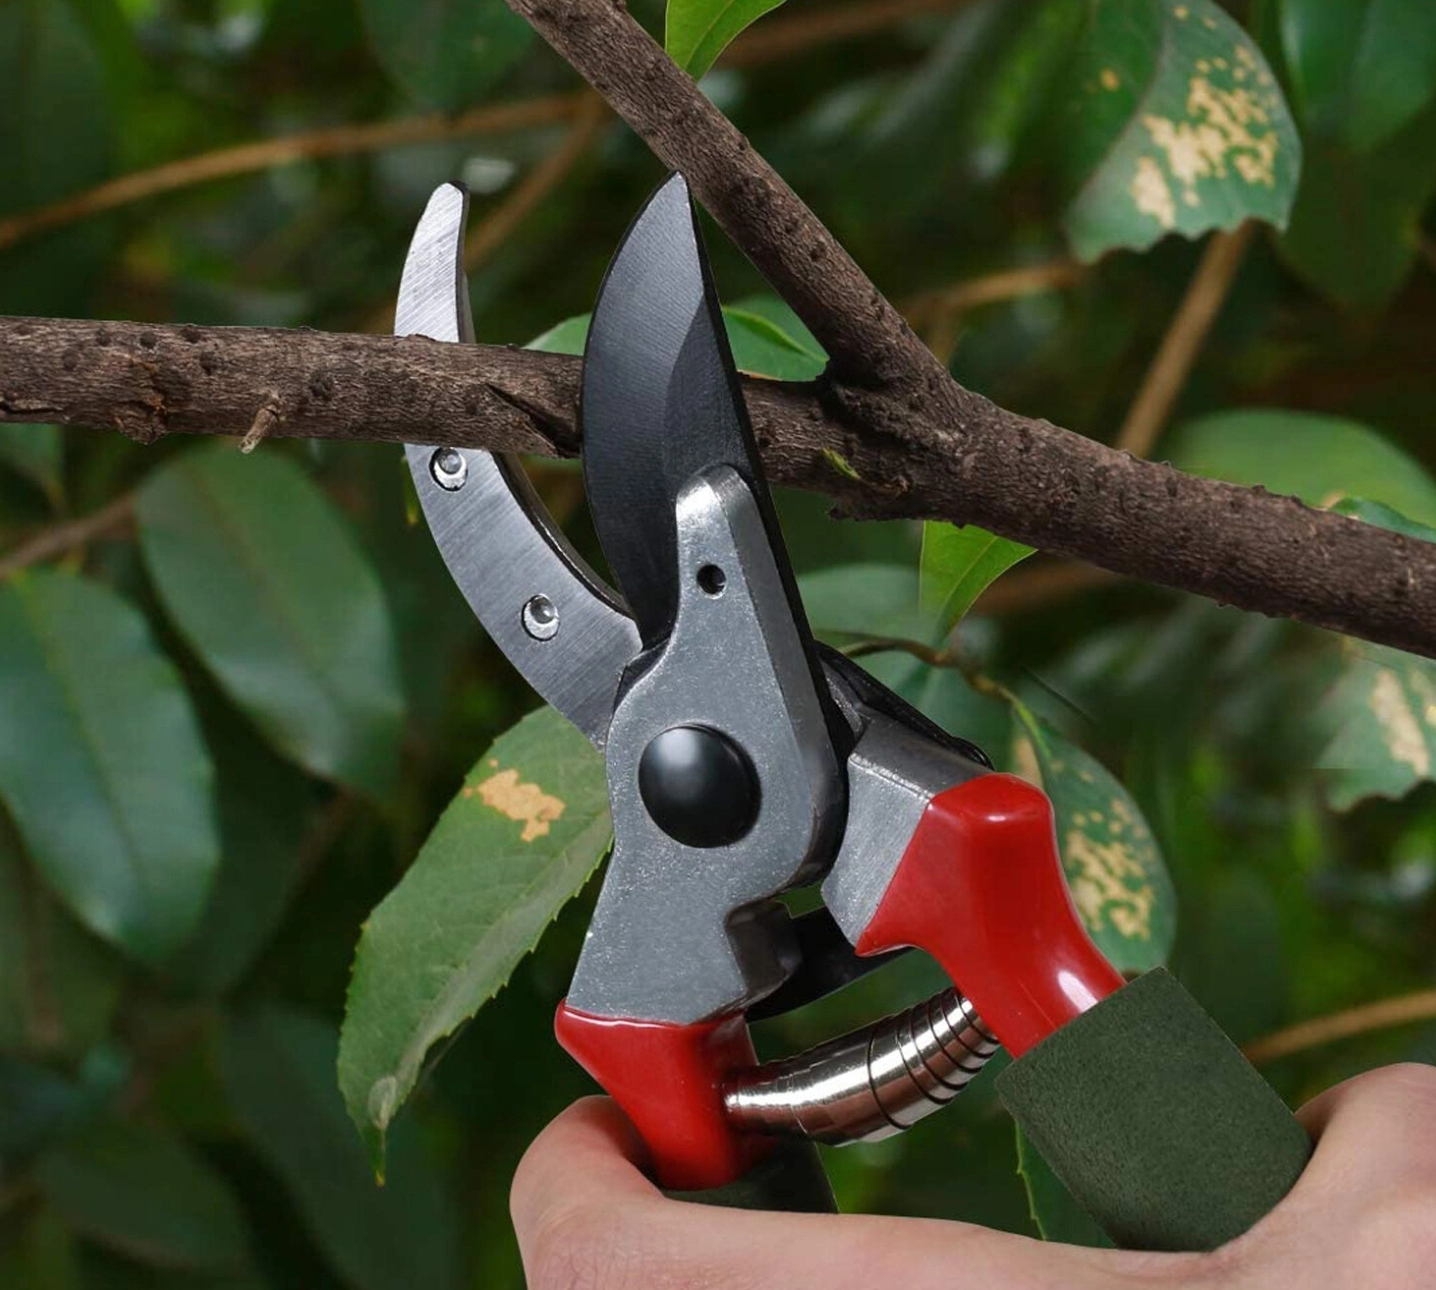
Use a flat file, sharpening stone, or dedicated sharpener. Follow the existing bevel on the blade. Push the file in one direction along the edge. Do not grind randomly. Random sharpening creates a weak, uneven edge.
Wear gloves and eye protection. Metal filings have no business near your eyes.
Garden Tool Sharpening Guide
| Tool | Why Sharpen It | Care Schedule |
|---|---|---|
| Pruning shears | Clean cuts help stems recover | Sharpen during active pruning season |
| Loppers | Thick branches dull blades quickly | Inspect monthly |
| Hedge shears | Long blades collect sap and lose bite | Clean after use, sharpen as needed |
| Hoes | Sharp edges cut weeds faster | Touch up during growing season |
| Spades | Clean edges enter soil with less force | Sharpen before spring digging |
| Garden knives | Dull blades slip and cut poorly | Sharpen before detailed cutting tasks |
Oil Metal Parts and Moving Joints
Oil protects metal from moisture. It also keeps hinges, springs, and pivots moving smoothly. You only need a thin coat. Too much oil attracts dust and grit, which creates a sticky paste nobody asked for.
Apply oil to:
- Blade surfaces
- Pivot points
- Springs
- Screws and bolts
- Hinges
- Exposed steel edges
Add one drop of oil to the pivot point on pruners or loppers. Open and close the tool several times to spread it. Wipe away excess oil with a cloth.
For wooden handles, use linseed oil. Clean the handle first, then rub in a small amount. Let the wood absorb it. This helps reduce drying and cracking.
Stop Rust Before It Takes Over
Rust starts small and gets ambitious. A few orange spots can turn into pitted metal if you leave them alone. Catch rust early and you can remove it without much trouble.
For light rust, rub the affected area with fine sandpaper or steel wool. For heavier rust, use a wire brush. After rust removal, wash the tool, dry it fully, and oil the metal.
Small tools or removable metal parts can sit in a vinegar-and-water mix for a short soak. Scrub them after soaking, rinse them, dry them, and oil them right away.
Rust Prevention Checklist
Keep rust away with these habits:
- Dry tools after cleaning.
- Store tools in a dry, aired space.
- Hang long-handled tools off the floor.
- Keep cutting blades covered.
- Oil metal surfaces before long storage.
- Avoid leaving tools in wet grass or soil.
- Keep shed floors free from standing moisture.
Pro-Tip: Fill a bucket with dry sand and add a small amount of oil. Push hand tools in and out of the sand after use. The sand helps remove dirt while the oil leaves a light protective coat.
Inspect Handles, Bolts, Springs, and Tool Heads
A tool can look ready but still fail under pressure. Loose bolts, cracked handles, weak springs, bent tines, and wobbly heads all create problems.
Check your tools once a month during the active growing season. Tighten bolts. Replace cracked handles. Stop using tools with unstable heads or damaged blades. A loose spade head may seem minor until it shifts mid-dig.
Pay close attention to wooden handles. Splinters, cracks, and rough spots can hurt your hands. Sand rough areas lightly, then apply linseed oil.
For pruners and shears, test the action. They should open and close smoothly. If they stick, clean the hinge and add oil. If the spring feels weak, replace it if the design allows.
Store Garden Tools the Right Way
Storage does half the maintenance work. Even clean tools will rust if you toss them onto damp concrete or leave them leaning in a wet corner.
Choose a dry storage area with airflow. Hang long-handled tools on hooks. Store hand tools in a bucket, drawer, tote, or wall rack. Cover sharp blades before storage.
Good storage also saves time. When every tool has a home, you stop buying duplicate trowels because the original disappeared into shed archaeology.
Smart Storage Ideas
Try these practical storage methods:
- Wall hooks for spades, forks, rakes, and hoes
- Magnetic strips for small metal tools
- Pegboards for pruners, scissors, and hand forks
- Buckets for frequently used hand tools
- Blade covers for shears, saws, and knives
- Shelving for oils, files, gloves, and cleaning supplies
Keep tools off the ground when possible. Damp floors shorten tool life, and clutter makes damage easier.
Seasonal Garden Tool Maintenance Plan
Garden work changes through the year, so your maintenance routine should change with it. A simple seasonal plan keeps the work manageable.
Spring: Prepare Before Heavy Use
Start spring with a full inspection. Clean dust from storage. Remove rust. Sharpen cutting tools. Oil hinges and metal parts. Tighten screws and bolts.
Check spades, forks, hoes, pruners, and loppers first. These tools usually do the hardest early-season work.
Summer: Maintain During Peak Use
Summer creates more sap, more soil, and more wear. Clean pruners after use. Disinfect them after cutting sick plants. Wipe down digging tools before storage.
Keep a cloth and oil nearby during busy weeks. Small care sessions prevent big repair jobs.
Autumn: Clean Before Damp Weather
Autumn often brings wet leaves, heavier soil, and longer pruning jobs. Clean tools well after each use. Remove stuck mud before it hardens. Sharpen blades before storage.
Oil metal parts before cold, damp weather arrives.
Winter: Store for Protection
Before long storage, clean every tool thoroughly. Sharpen blades. Oil metal surfaces. Care for wooden handles. Cover sharp edges. Store tools in a dry place until spring.
If you use battery-powered garden tools, follow the maker's storage advice for batteries and chargers.
Common Garden Tool Care Mistakes
Most tool damage comes from small habits repeated often. Fix those habits and your tools last much longer.
Avoid these mistakes:
- Leaving tools outside overnight
- Storing tools while wet
- Cutting thick branches with small pruners
- Using a trowel as a pry bar
- Sharpening against the blade angle
- Ignoring loose bolts
- Letting sap dry on blades
- Storing sharp tools uncovered
- Using rusty tools on healthy plants
A tool designed for pruning should prune. A tool designed for digging should dig. Your trowel does not want a side job as a demolition device.
What Now? Start With Your Most-Used Tools
Do not empty the whole shed onto the lawn and declare a grand restoration project. That plan sounds productive until you stand surrounded by rusty metal and regret.
Start small. Pick the five tools you use most. For many gardeners, that means pruners, trowel, spade, hoe, and hand fork. Clean them. Dry them. Sharpen one blade. Oil one hinge. Hang one tool properly.
Then repeat the habit after each gardening session.
Good garden tool care comes down to a short pattern: clean, dry, sharpen, oil, store. Do that consistently and your tools will cut better, dig better, last longer, and make gardening feel less like a fight with the shed.